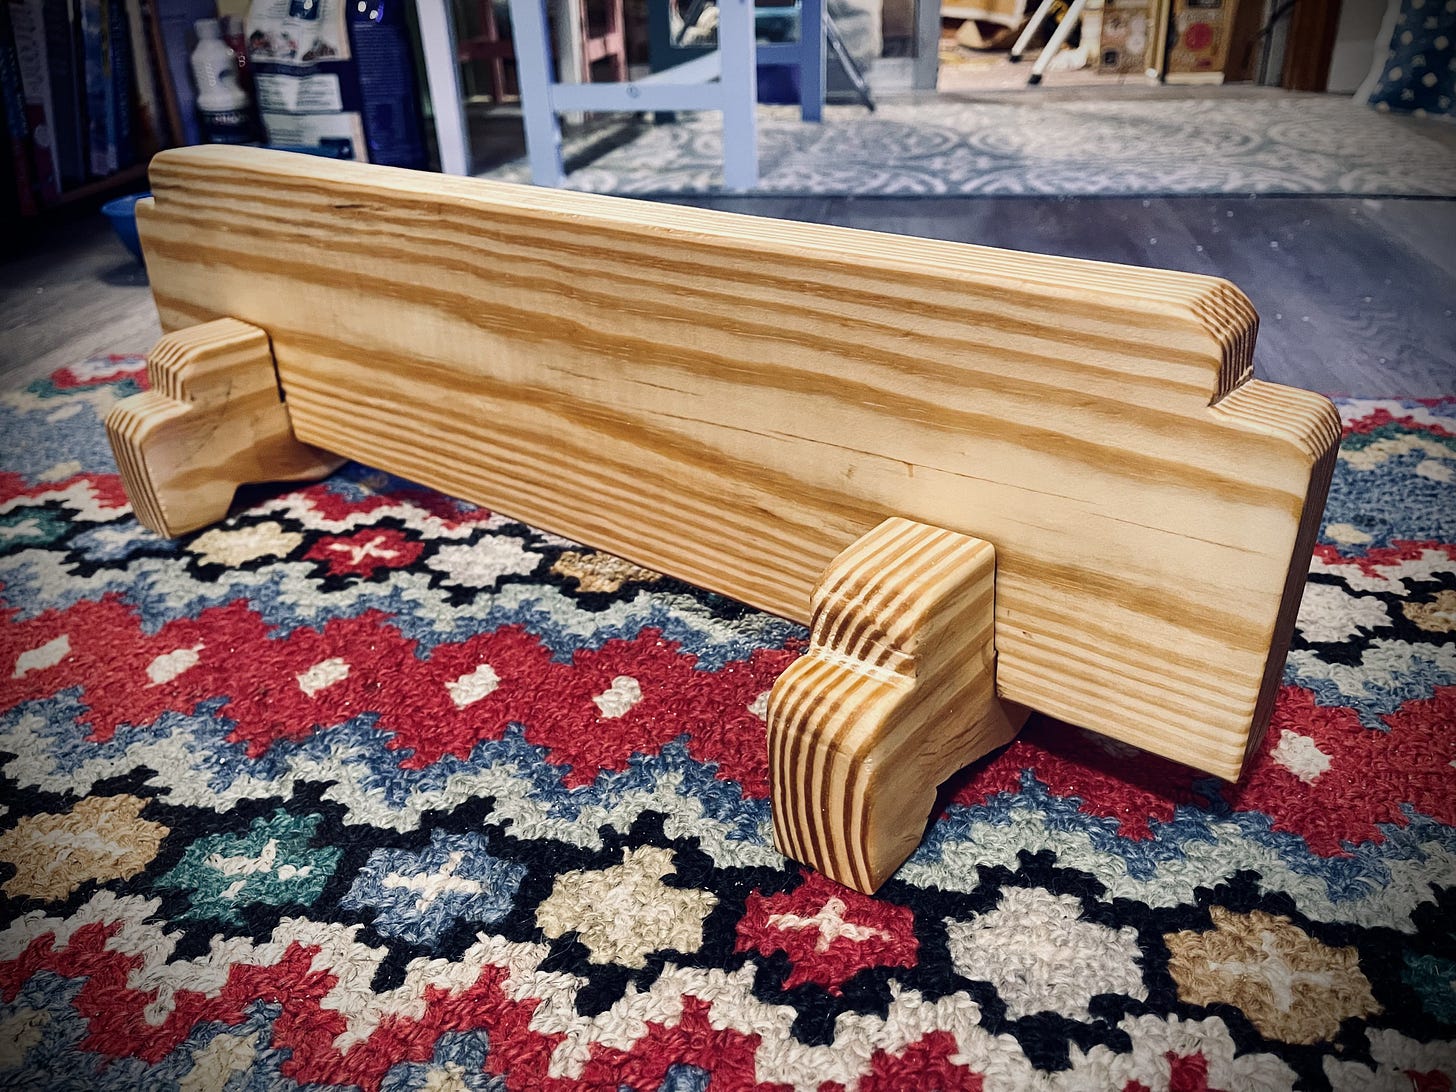
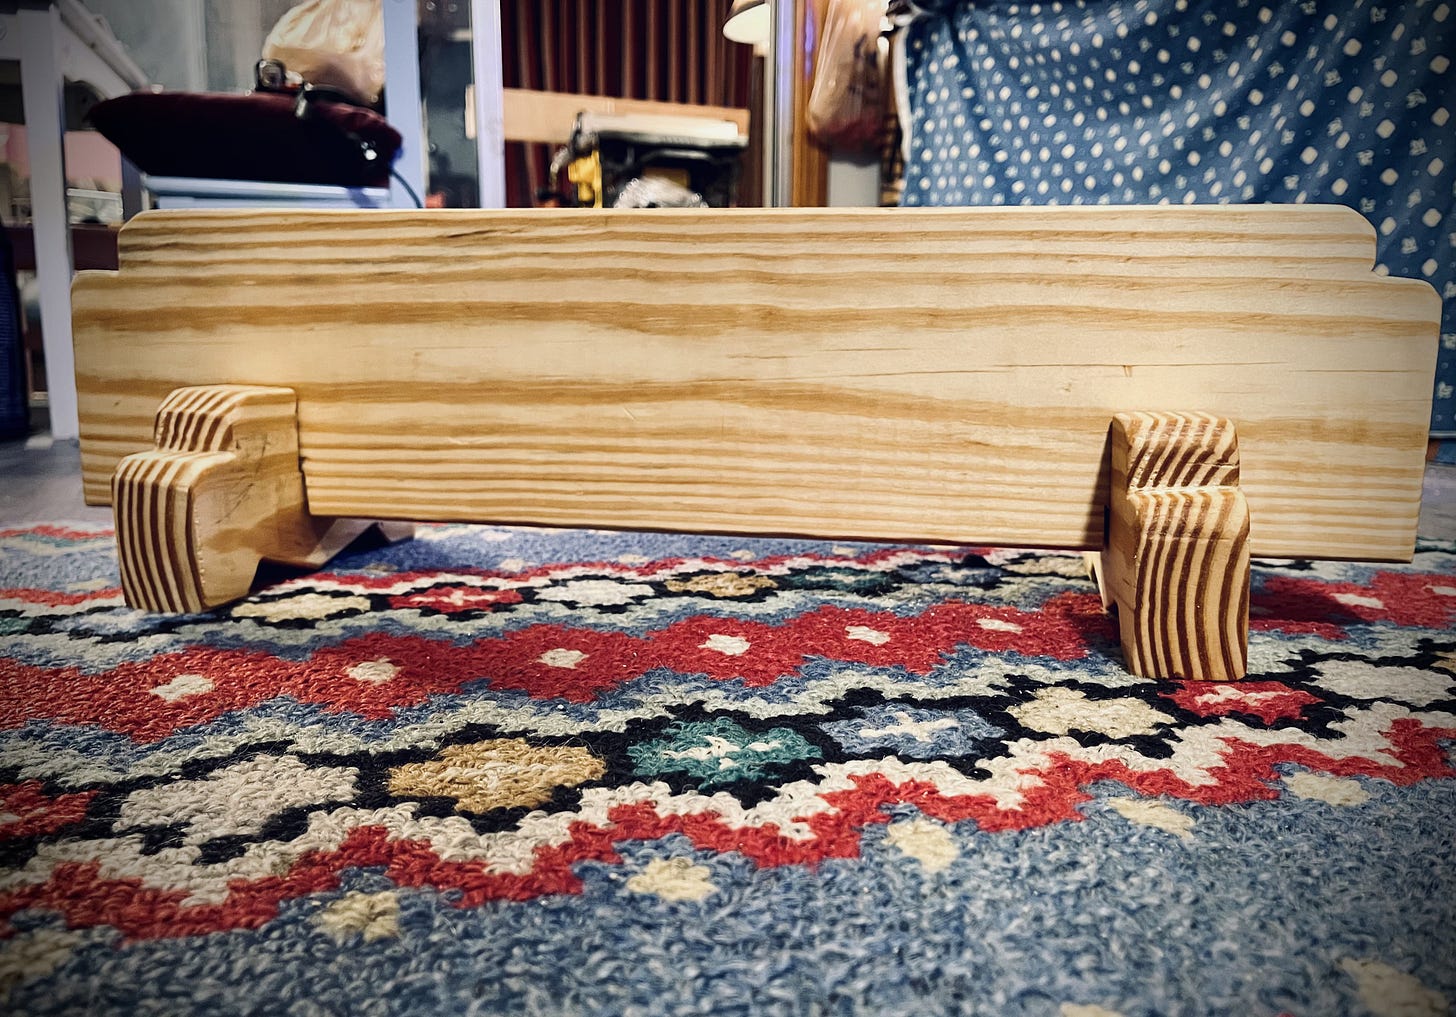
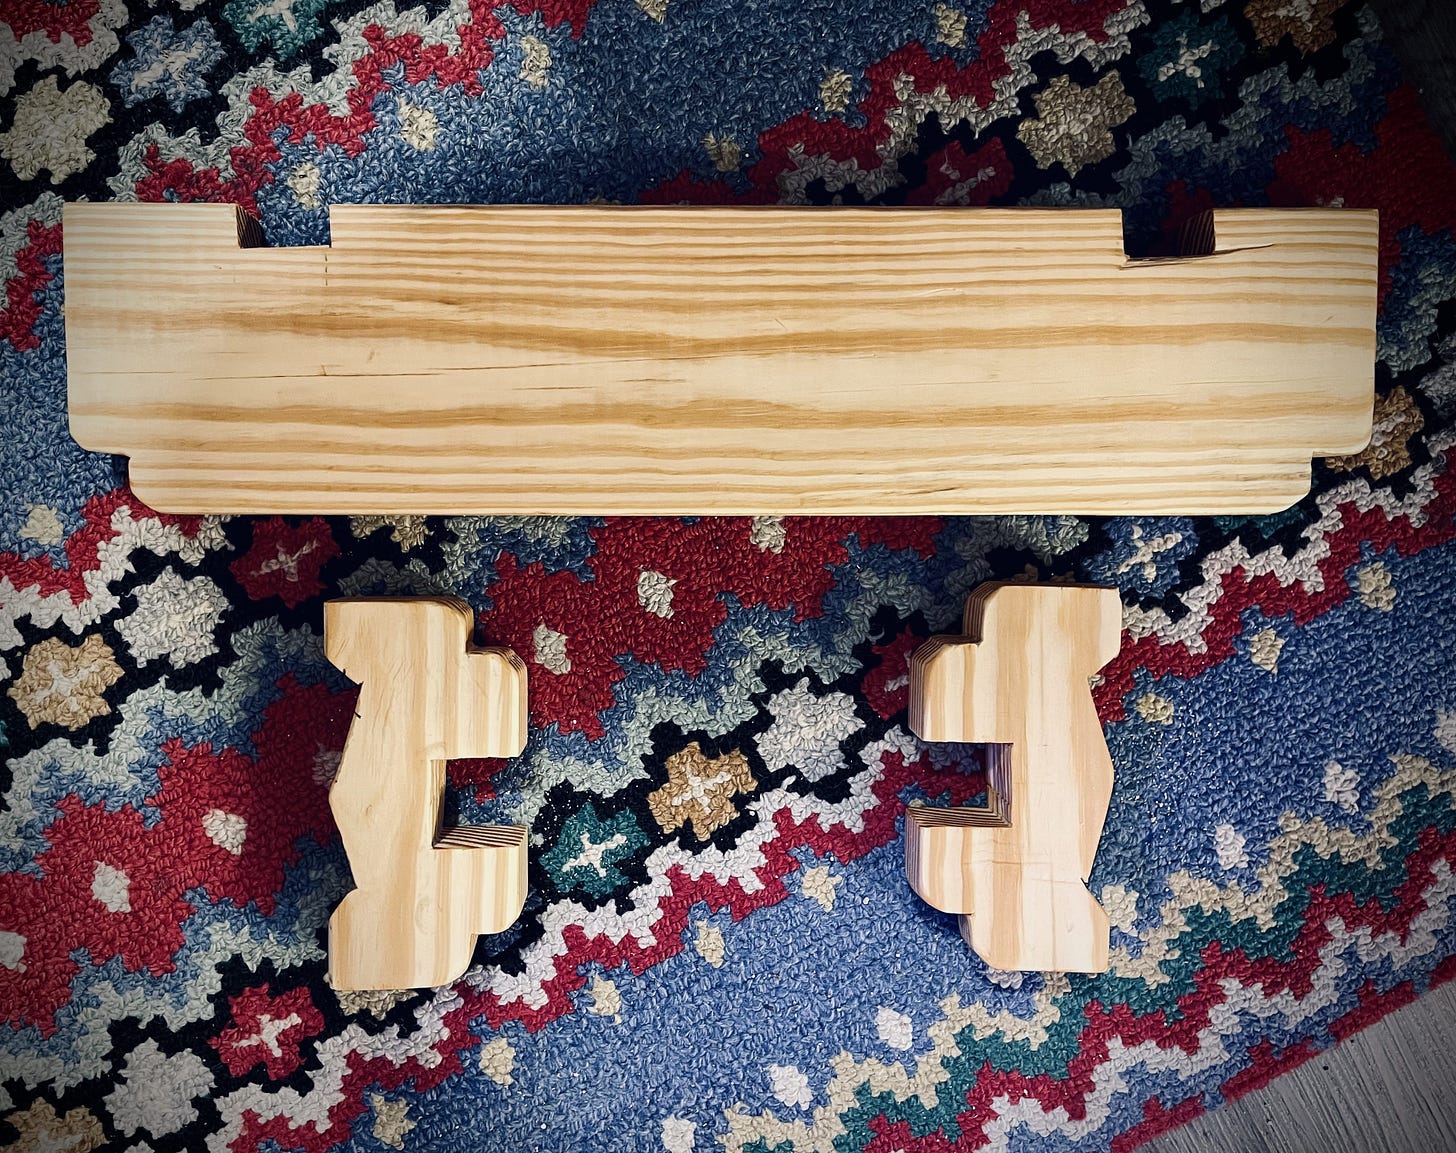
I had a busy day, which was nice. I built several things, not the least of which was a pair of Japanese Sawhorses or “low horses” as they’re sometimes called.
I’m slowly rebuilding my shop, and these are items that A) I need B) Are easy to put away and take up minimal space and C) I can make these and sell them - they’re fun for me to make.
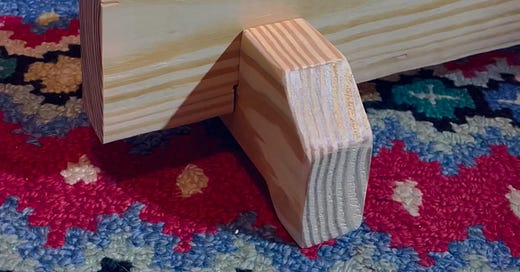
I made two different styles: the one above with shoulders, and then another sawhorse with 45-degree cuts on the corners, which is more industrial looking to me. These are going to be used hard, so the corners need to be knocked off. To what degree is subjective but I personally like the shoulders and I think the “feet” are stronger here, with the material extending to the ground directly under the bulk of the weight on each end. Both strong and decorative. These are prototypes more or less, please keep in mind, and version 1. I learned a lot from making these, and continuing to build them will only expand upon that knowledge! Any I make from here out will have tighter joints and cleaner cuts. More finished, in other words.
I also put a coat of pure Tung oil on the shouldered sawhorse, and then a coat of poly on the other. With Tung oil, not the “Minwax” tung oil finish which is separate and different mind you, I need to wait about 35 hours between coats and put on at least 4 coats. This isn’t a furniture piece, so I’m not treating it as such. But there’s no reason my things can’t and shouldn’t look good. And it needs to be durable. Made to last. That’s my number one requirement.
I don’t see how some of these people I watch on YouTube manage to video every single step they do without a videographer. Like the guy I got the inspiration from for this project, Rex Kreuger. (I spend a lot of time watching woodworking videos on YouTube)
He also has turned me on to Roman workbenches, which is a project I plan on executing soon. I’m not going to make it 8 feet because I have no need for something so large. The last workbench I made was 8 feet and it was massive. Luckily, I designed it so it could be broken down and set up again with minimal trouble because that’s exactly what I had to do before I sadly sold it to a very lucky man.
It was a different style of bench, however - more of an auto mechanic’s bench which is what I grew up around, so it makes sense that’s what I designed. Before I learned more about woodworking, which shows you always can learn and should. Although I watched my father embark on hundreds of projects with books in hand and I know I saw him watch “This Old House” a few times, I never realized he was doing them wrong, which explains everyone’s frustrations with his work.
First, the boards used weren’t ever straight or flat. They’re whatever we could get where we lived. And I remember going to buy lumber a lot. No planer or jointer, which was the first problem. And there weren’t electric screwdrivers then, so… nails, screws, whatever. And the measuring instruments were inaccurate to put it simply.
Interestingly, now that I’ve gotten more into woodworking, I see my own bench design was kind of poor for woodworking. It was good for what I needed it for though, which was a bit of everything. But with just a few more touches, it would have been really nice, especially for fine work like soldering, “tinkering”(yes that’s legitimate), bench repairs of which there are many where I’m from, and on and on. That bench was a dream bench. I hated to get rid of it, and all the tools and things that went with it. It took forever to accumulate them, from all over the country. Lots of treasures from a dead engineer on Hilton Head Island, too, which are now floating around Louisville.
I’ve had everything taken as far as my shop goes. 40 years of stuff - gone. Hardware and all. It’s having a vast collection stolen, but it’s more than that because they’re tools we come to rely upon. And we’ve used a LOT. They’re old friends. In many instances, they’re like picking up an instrument like an old guitar. So to have them suddenly vanish is tough to bear. They’ll never be seen again by me that I can imagine.
But I’m trying to think of this as an opportunity to begin fresh without a barn full of “stuff” for me to lug around as I’ve been doing for so long. I now know what I need, what I don’t need, what’s the best, and what’s junk, and I’ve learned to be a lot more resourceful. The amount I’ve broken or jettisoned over the years even despite trying to protect everything is amazing.
Notice the feet for the shouldered sawhorses make an “M.” That wasn’t on purpose - I originally cut them horizontally as with the other variation. But this made more sense since the center’s going to be handling no small part of the weight. And afterward, it was a nice coincidence that the “M” is my first and last initial.
This was pretty clean pine I found, and it was surprisingly affordable. No knots, dings, or blowouts. The chips and marks are from me beating it around. I plan on putting at least 3 more coats of tung oil on this one. That oil really brings out the color, which reminds me of my camp in New Hampshire which was all handmade. The whole camp! And it was built long before nice modern electric tools. Much like these sawhorses, in fact.
I’m excited to finally have these made because they’re now available for purchase and I can use them in my little shop. Tip: It’s hard to build sawhorses or a bench without sawhorses or a bench. Save yourself a lot of time and just buy them.


Share this post